How to make a wig with closure?
How to make a wig with closure?
Closure sew-in provides a natural illusion that the hair strands are growing from your scalp. It's now a popular option.
In this post, we're going to share with you how to make a wig with lace closure and human hair weave. It may take you about 1-2 hours to finish this small project. If you plan to make a lace wig, let's get started.
How to make a wig with closure?
Here are some items you need to prepare before starting:
Human hair bundles (2-3 bundles)
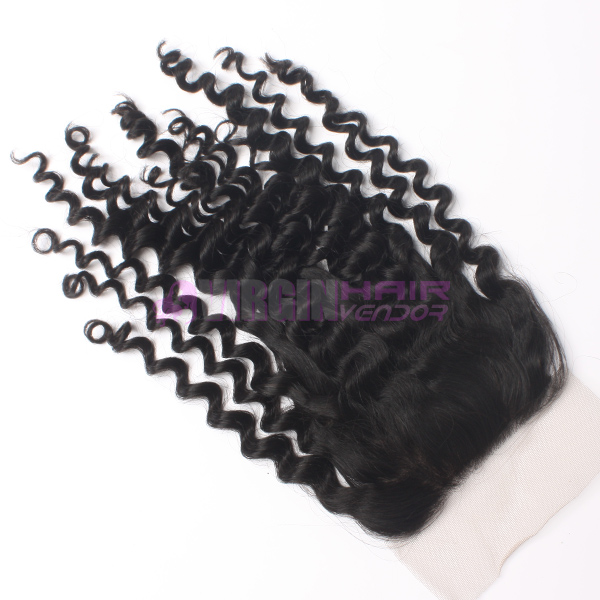
Lace closure (4x4 or 5x5)
Wig cap and elastic wig band
Mannequin head
Needle and thread (Choose a color that is close to the hair color)
Mark pen
Tweezers
t-pins and clips,
Mannequin head.
Step 1: Measure your head size: Measure the circumference of your head and pick the correct size dome cap. You can buy the above-mentioned items from your local beauty shop or from Amazon.
Step 2. Put on the wig cap:
Place the wig cap on the mannequin head. Use t-pins to fix it and mark where the closure going to be sewed in.
Step 3. Start to sew in lace closure: Place the lace closure on the front of the top and use t-pins to fix it to the wig cap, and then put the hair into a small ponytail so that all the hair strands can be out of the way. Next, use thread and needle to sew in closure into the wig cap along the perimeter of the closure. Finally, make a double knot on the end of sew in closure to ensure that the lace closure is fixed.
Step 4: Mark tracks on the wig cap:
Leave some room for your elastic band on the bottom of the wig cap. Start to mark the first track above where the elastic band is. And repeat to mark tracks and make them spread within an inch apart.
Step 5: Sew in hair weave: Start from the bottom marked track, make a double base knot on the human hair weave, use some t-pins to fix the hair weave to the wig cap, and make sure that the track of the hair weave is coinciding with the marked track on the wig cap. Start to sew in the hair weave into the wig cap. When you come to the edge, secure it with a double knot. And then use a scissor to cut the weft. Repeat the above-mentioned steps to sew in until you come to the last track on the top of the wig cap. To achieve a natural look, it should be no gaps between your weft and your closure. If you have a gap, you just need to stitch the weft to the closure. When you finish the last track, make a double knot on the wig cap, and cut the hair weft.
Step 6: Tweeze the lace closure:
If your lace closure has been pre-plucked, you can pass this step. Use a tweezer to pluck gently and carefully, pluck from the perimeter to the area behind the hairline.
Step 7: Cut the wig cap:
Use scissors to cut the excess wig cap under the lace closure. Keep in mind that avoid cutting the lace closure or cutting too close to the hair.
Step 8: Sew in combs and elastic band: Turn the wig inside out and sew the combs and elastic into the wig cap with needle and thread.
Step 9: Comb and style the wig: The wig seems to be done, and now you can comb the hair to make it look more natural. And you can style it as you wish.
The tutorial to make a lace wig with lace closure is finished, we hope that this post can be helpful to you. If you also feel confused about how to take out sew in weave, click and go through our previous post: How to take out sew-in weaves without damage?
Best bundles with closure at Virgin Hair Vendor
Discover affordable human hair bundles with closure at Virgin Hair Vendor. Virgin Hair Vendor wholesales human hair bundles, human hair wigs, and lace frontal closure at a factory-direct price. All our human hair weaves are made with 100% Remy hair, smooth, soft, with a natural luster, no shedding, no tangling.


